chrome 系瀏覽器在撰文當下支援 gzip, deflate, br, zstd 四種壓縮方法,gzip, deflate 非常悠久也非常普及,br(brotli) 壓縮率優秀但耗時,而 zstd 就是在接近 br 的壓縮率情況下大幅減少壓縮、解壓縮所需時間。


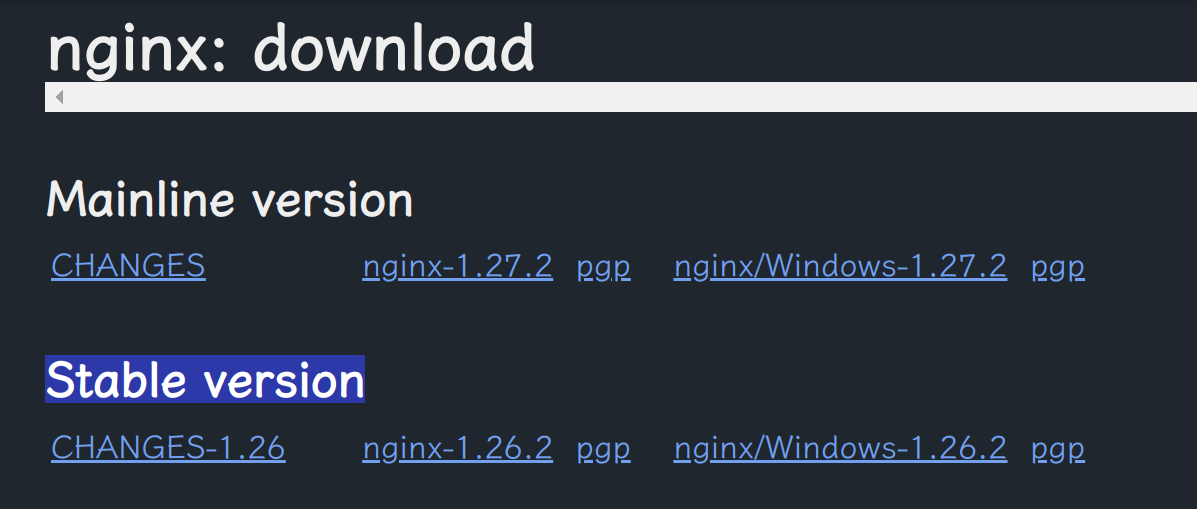
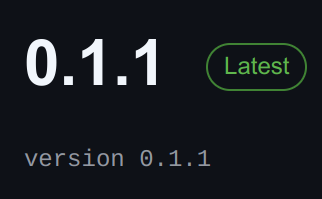
此處將以 ubuntu 作為從無到有的示範教學。撰文當下所使用的版本依序為:nginx-1.26.2, openssl-3.3.0+quic, zstd-1.5.6, zstd-nginx-module-0.1.1。版本隨時會更新,請依看見文章時當下的最新版本操作,無須使用與文章一模一樣的版本號,並且指令中的版本號也要跟著改。


更新套件資訊
sudo apt update更新套件
sudo apt upgrade安裝編譯套件
sudo apt install -y git build-essential libpcre3 libpcre3-dev zlib1g-dev新增資料夾
mkdir ~/nginx_build進入到剛剛新增的資料夾
cd ~/nginx_build下載 nginx 原始碼
wget -c https://nginx.org/download/nginx-1.26.2.tar.gz解壓縮 nginx 原始碼
tar zxf nginx-1.26.2.tar.gz下載 openssl-quic 原始碼
git clone https://github.com/quictls/openssl下載 zstandard 原始碼
git clone https://github.com/facebook/zstd下載 zstd-nginx-module 原始碼
git clone https://github.com/tokers/zstd-nginx-module進入 zstd 資料夾
cd zstd編譯 zstd 函式庫
make lib-mt回到上一層資料夾
cd ../新增 zstd 函式庫臨時環境變數
export ZSTD_INC=$(pwd)/zstd/libexport ZSTD_LIB=$(pwd)/zstd/lib進入 nginx 資料夾
cd nginx-1.26.2開始組態設定
./configure --with-threads --with-file-aio --with-http_ssl_module --with-http_v2_module --with-http_v3_module --add-module=../zstd-nginx-module --with-openssl=../openssl開始編譯
make測試 (如果沒有出現 ERROR 相關字樣就會出現版本資訊)
objs/nginx -V安裝
sudo make install建立軟連結
sudo ln -s /usr/local/nginx/sbin/nginx /usr/sbin/nginx新增守護行程設定檔
echo "# Stop dance for nginx
# =======================
#
# ExecStop sends SIGQUIT (graceful stop) to the nginx process.
# If, after 5s (--retry QUIT/5) nginx is still running, systemd takes control
# and sends SIGTERM (fast shutdown) to the main process.
# After another 5s (TimeoutStopSec=5), and if nginx is alive, systemd sends
# SIGKILL to all the remaining processes in the process group (KillMode=mixed).
#
# nginx signals reference doc:
# http://nginx.org/en/docs/control.html
#
[Unit]
Description=A high performance web server and a reverse proxy server
Documentation=man:nginx(8)
After=network-online.target remote-fs.target nss-lookup.target
Wants=network-online.target

[Service]
Type=forking
PIDFile=/run/nginx.pid
ExecStartPre=/usr/sbin/nginx -t -q -g 'daemon on; master_process on;'
ExecStart=/usr/sbin/nginx -g 'daemon on; master_process on;'
ExecReload=/usr/sbin/nginx -g 'daemon on; master_process on;' -s reload
ExecStop=-/sbin/start-stop-daemon --quiet --stop --retry QUIT/5 --pidfile /run/nginx.pid
TimeoutStopSec=5
KillMode=mixed

[Install]
WantedBy=multi-user.target
" > nginx.service
將守護行程設定檔放入該放的地方
sudo mv nginx.service /usr/lib/systemd/system進入修改 nginx.conf 畫面
sudo nano /usr/local/nginx/conf/nginx.conf在 nginx.conf 中的 http 區塊加入這段
*記得先找到『http {』這一行
zstd on;
zstd_static off;
zstd_min_length 64;
zstd_comp_level 3; # 3 是壓縮率,數字越小,速度越快但壓縮效果差,可任意指定 1 ~ 19。
zstd_types

text/plain text/css text/xml text/javascript

image/x-icon image/vnd.microsoft.icon image/bmp image/svg+xml

application/atom+xml application/geo+json
application/javascript application/x-javascript
application/json application/ld+json application/manifest+json
application/rdf+xml application/rss+xml application/xhtml+xml application/xml application/xml+rss

font/eot font/otf font/ttf;
*然後按 Ctrl + S 存檔 再按 Ctrl + X 離開
啟動 nginx 並設定開機執行
sudo systemctl enable --now nginx驗證
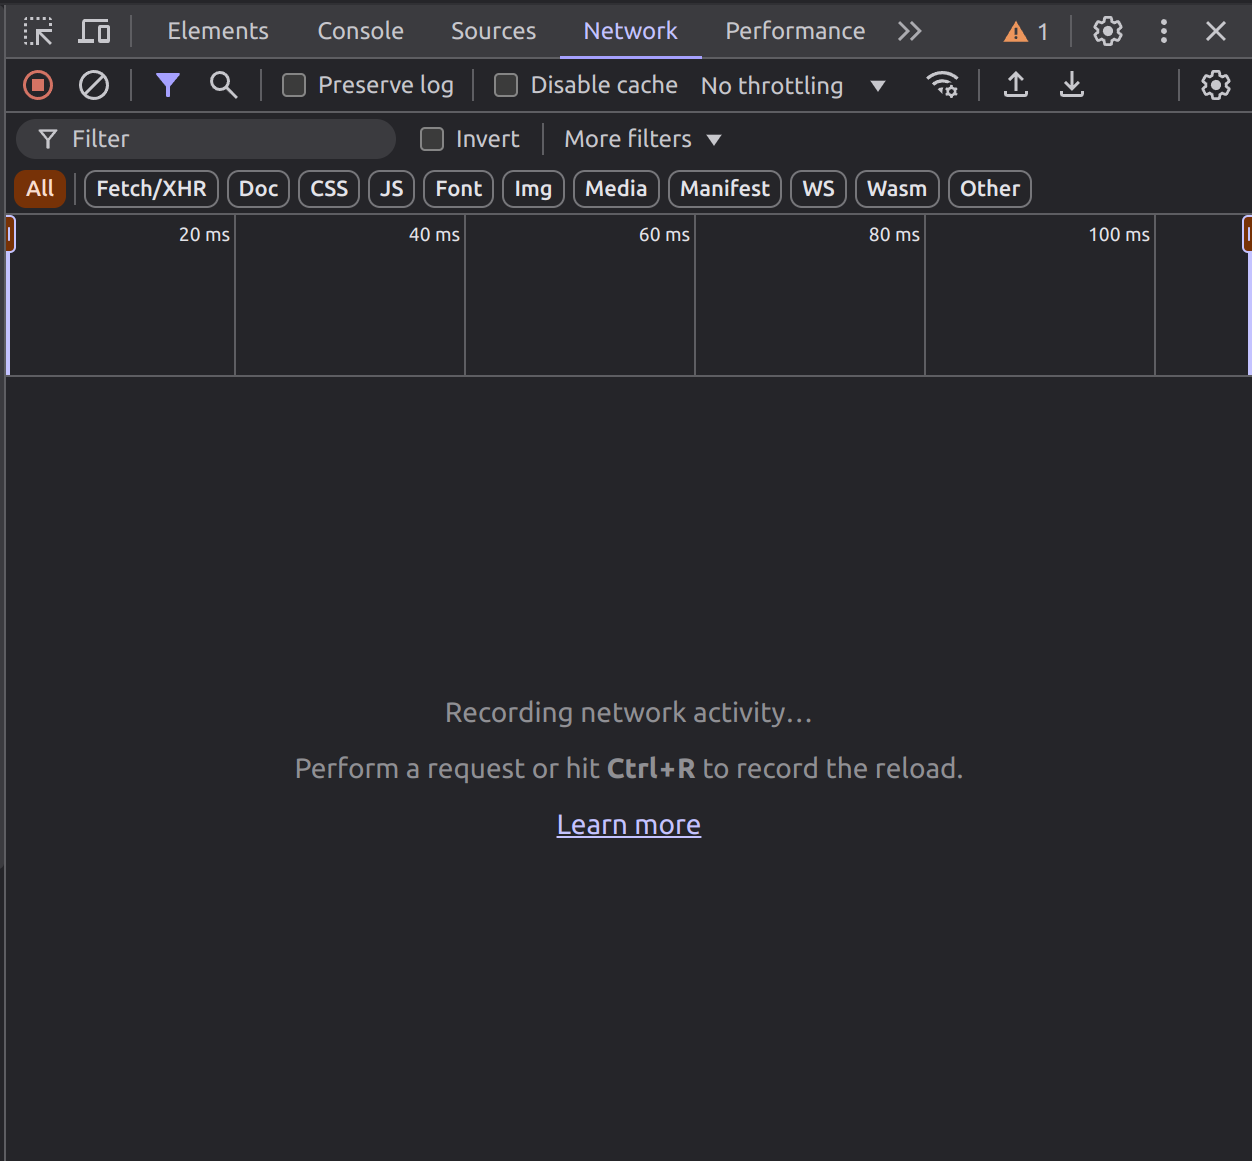
於支援的瀏覽器(如 Chrome)按下 F12,上方切到 Network 頁籤

點一個屬於自己網站上的檔案,且有在設定指定的內容。(此處以 js 為例)


